 +86-13586927333

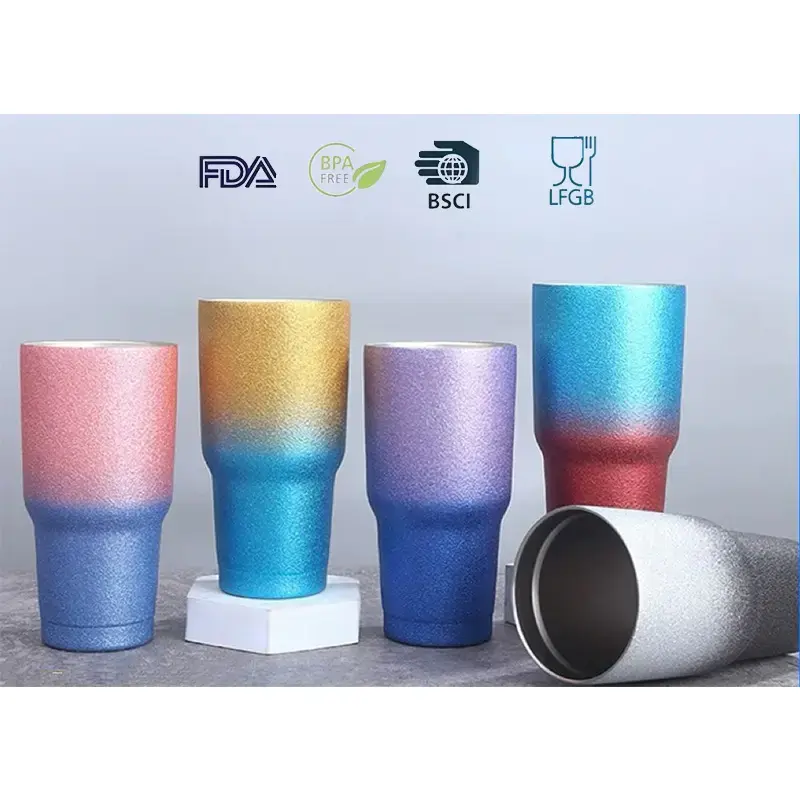
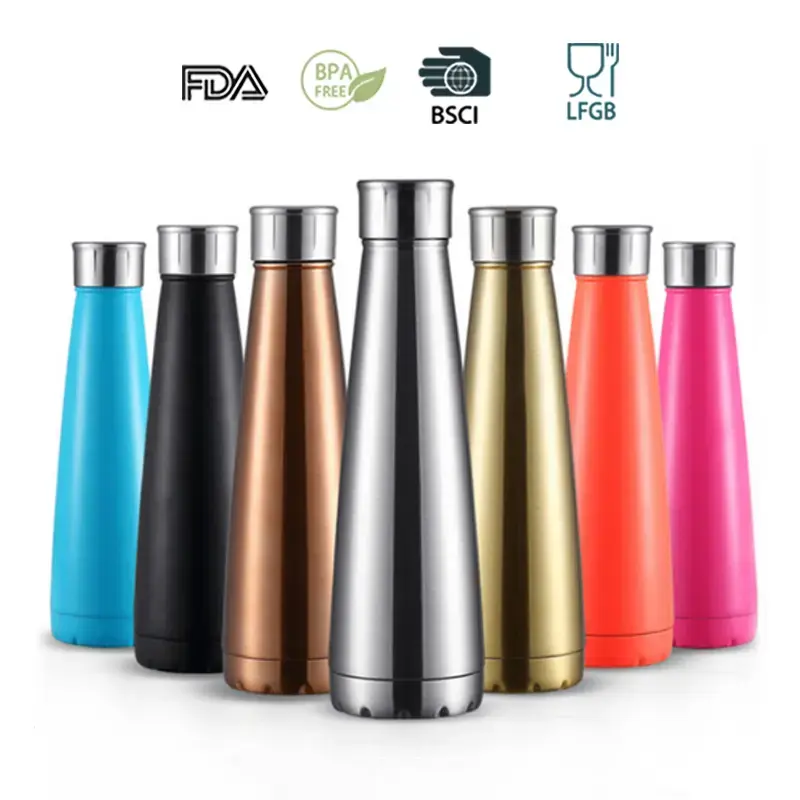
Thermos cup factory


0102030405
Deep Cleaning Guide: The Secret to Cleaning a Long Bottle with a Small Mouth Thermos
2025-07-04
Do you also have such a problem? The thermos at home is in the shape of a long bottle with a small mouth. Every time you clean it, you feel at a loss as to where to start. The bottom and walls of the cup are always hard to be thoroughly cleaned? Don't worry. Today, I'm going to share with you some practical and simple cleaning methods to keep your thermos cup clean and hygienic at all times.
Clean skillfully with natural materials
Rice is a master at cleaning thermos flasks. First, prepare a small handful of rice, about twenty or thirty grains will do, and pour it into a thermos. The surface of rice is rough. During the shaking process, it can rub against the cup wall, effectively removing dirt. Next, add about one fifth of the water to the thermos and then tightly close the lid. Shake the thermos vigorously to ensure that the rice is fully rolled inside and constantly collides with the walls and bottom of the cup. Shake it for about 3 to 5 minutes. You will find that the originally clear water becomes turbid, which indicates that the dirt has been scraped off by the rice. Finally, pour out the rice and water from the cup, and then rinse the thermos repeatedly with clean water. You will see that the bottom and inner walls of the cup have become much cleaner. If there are stubborn stains in the thermos, you can also add a little salt to the water. Salt not only has the function of disinfection and sterilization, but also can enhance the cleaning effect and help remove those stubborn dirt that are difficult to clean.
White vinegar and baking soda are also an excellent cleaning combination. First, pour a small amount of white vinegar into the thermos, approximately 10% of its capacity. White vinegar can effectively soften tea stains and water scale, preparing for subsequent cleaning. Then add a small spoonful of baking soda. At this point, you will see that the white vinegar and baking soda react rapidly, generating a large amount of foam. These foams have a strong cleaning ability and can further decompose dirt. Pour in a small handful of rice to increase the friction, and then add an appropriate amount of warm water (note that the water volume should not exceed one-third of the cup to avoid overflow when shaking). Tighten the lid of the cup and shake it vigorously for 1 to 2 minutes to allow all the cleaning materials to fully take effect. After shaking, pour out the liquid in the cup and then thoroughly rinse the thermos with clean water. This way, stubborn stains can be easily removed.
Deeply clean with the help of tools
If you think using only natural materials is not enough, there are also some cleaning tools specifically designed for small-mouthed thermos flasks on the market. For instance, the slender sponge cup brush, with its soft and elastic brush head, can easily reach into the narrow rim of the cup and thoroughly clean every corner of the thermos. There is also an extended silicone cup brush. Its super-long handle allows you to easily reach the bottom of the cup, and the silicone bristles will not scratch the inner wall of the thermos cup. In addition, there is a three-in-one cup lid brush that is also very practical. It can clean the insulated cup LIDS 720 degrees without any blind spots, especially the crevices on the LIDS. These places that are prone to dirt accumulation can all be cleaned thoroughly.
Daily cleaning tips
After each use of the thermos, it is best to rinse it with clean water in time to avoid dirt adhering to the cup wall for a long time. Regularly conduct a thorough cleaning of the thermos cup. It is recommended to perform a deep cleaning at least once a week. This can effectively prevent the growth of bacteria and the generation of unpleasant odors. When cleaning a thermos, not only the inside of the cup body should be paid attention to, but also the rim and the lid are equally important. The rim of the cup often comes into contact with the mouth and is prone to accumulate bacteria. Using an old toothbrush dipped in toothpaste to gently scrub the rim of the cup can both clean and kill bacteria. If the lid of the cup can be disassembled, each component should be disassembled and cleaned separately to ensure there are no cleaning dead corners.
It is not difficult to clean a thermos with a long bottle and a small mouth. As long as you master the correct method and make good use of the materials and tools around you, you can easily keep the thermos clean and hygienic, allowing you to drink healthy water with peace of mind at any time.